
Learn how to make the perfect Medu Vada at home with these 3 easy tricks. Get crispy on the outside, fluffy on the inside restaurant-style vadas every single time!
If you are looking for the ultimate Medu Vada 3 Easy Tricks for Crispy & Fluffy Vadas guide, you are in the right place! Learn how to make the perfect restaurant-style Medu Vada at home so you get a crunchy exterior and a light, cloud-like interior every single time.
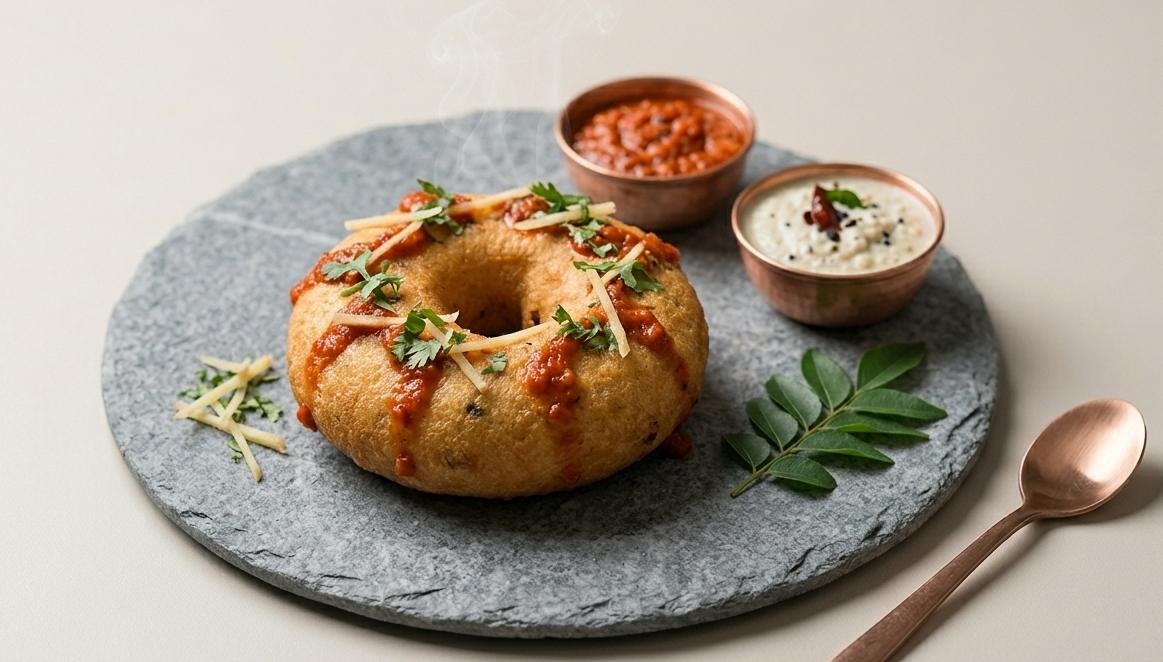
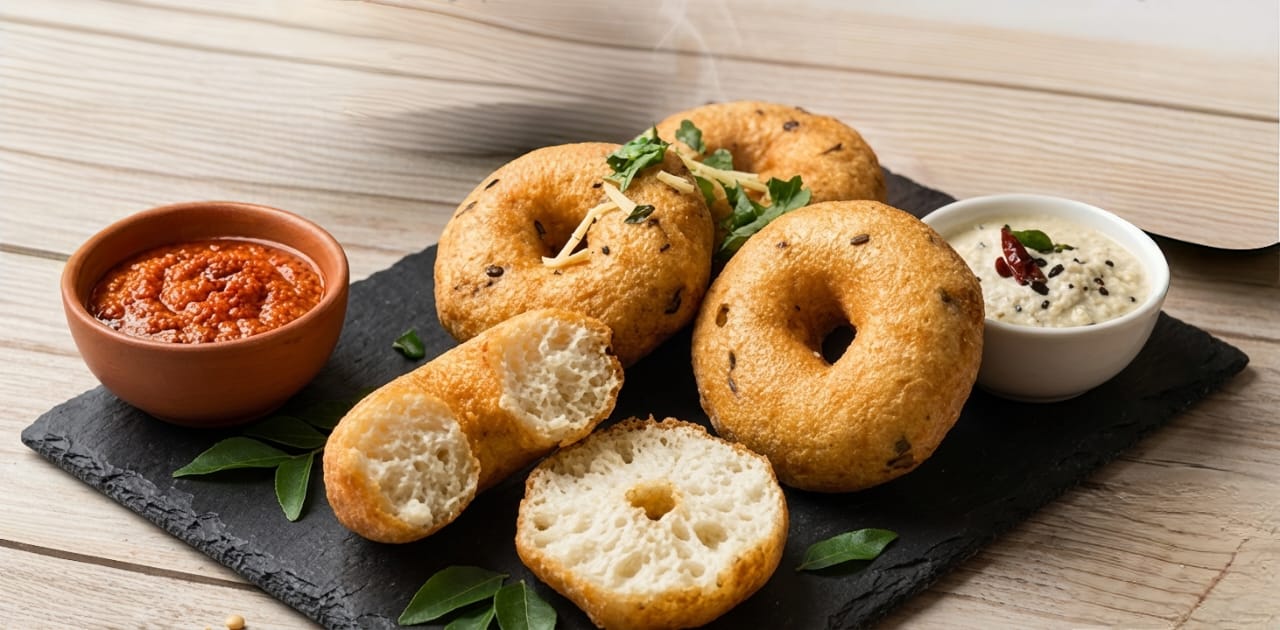
There is nothing better than a hot, crispy Medu Vada paired with steaming sambar and fresh coconut chutney for breakfast. However, getting that perfect, cafe-style texture at home can be tricky. Often, home-cooked vadas turn out either too dense, overly oily, or lose their shape entirely.
In this comprehensive recipe guide, you will learn how to make the ultimate Medu Vada using 3 easy tricks. These simple adjustments guarantee a vada that is flawlessly crispy on the outside, yet incredibly light and fluffy on the inside.
The 3 Easy Tricks for Perfect Medu Vada:Medu Vada 3 Easy Tricks for Crispy & Fluffy
VadasBefore diving into the ingredients, mastering these three crucial techniques will completely transform your Medu Vada making process.
Medu Vada 3 Easy Tricks for Crispy & Fluffy Vadas:
Trick 1: The Ice Water Grinding Rule
The biggest mistake people make is adding too much water while grinding the black gram (urad dal). To get the right consistency, you must grind the dal using only 2 to 3 tablespoons of ice-cold water. Cold water prevents the mixer grinder from heating up, which keeps the batter light and prevents it from turning watery.
Medu Vada 3 Easy Tricks for Crispy & Fluffy Vadas:
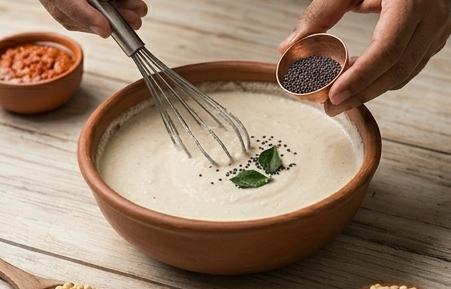
Trick 2: The 5-Minute Aeration Whip
Once your batter is ground, it needs air. Do not skip this step! Use your hands or a whisk to vigorously whip the batter in a clockwise direction for a full 5 minutes. This incorporates air bubbles, turning a heavy paste into a fluffy, cloud-like batter.
The Float Test: Drop a small dollop of the whipped batter into a bowl of water. If it floats instantly on the surface, your batter is perfectly aerated and ready for frying. If it sinks, whip it for another 2 minutes.
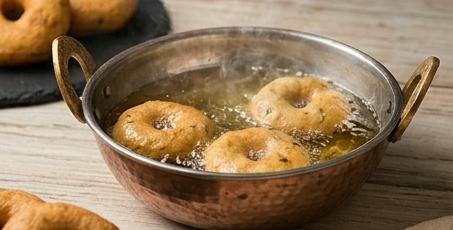
Trick 3: Precision Temperature Frying
Frying temperature determines the final texture of your Medu Vada. If the oil is too hot, the exterior will brown instantly while the inside remains raw. If the oil is too cold, the vada will absorb excess oil and become greasy. Always fry on medium heat so the vada cooks evenly throughout.

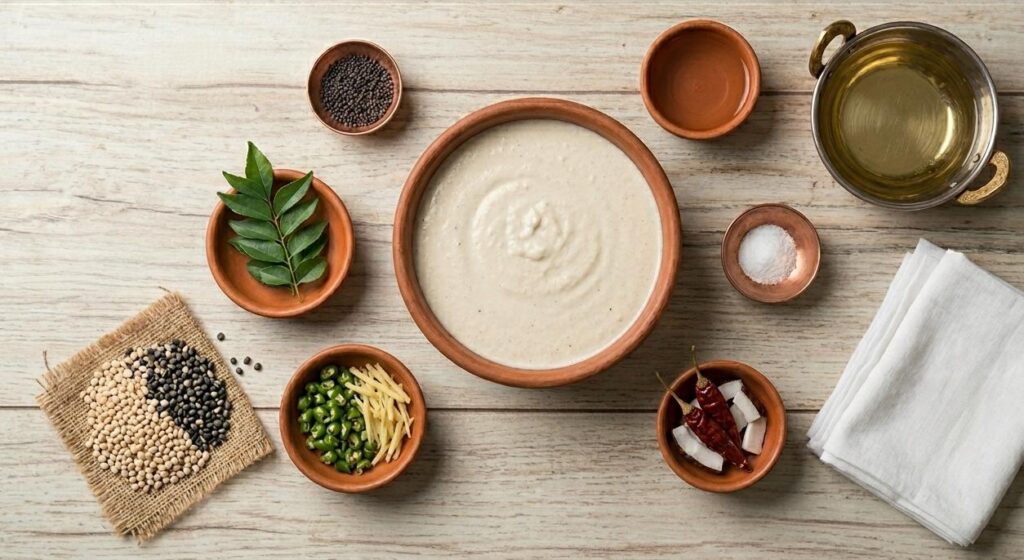
Ingredients You Will Need:Medu Vada 3 Easy Tricks for Crispy & Fluffy Vadas
- Urad Dal (Whole Black Gram): 1 cup (soaked for 4 hours)
- Green Chillies: 2, finely chopped
- Ginger: 1 inch, finely crushed
- Fresh Curry Leaves: 10-12, chopped
- Fresh Coriander Leaves: 2 tablespoons, chopped
- Black Peppercorns: 1 teaspoon (whole or coarsely crushed)
- Asafoetida (Hing): a generous pinch
- Rice Flour: 1 tablespoon (optional, for extra crunch)
- Salt: To taste
- Oil: For deep frying
Step-by-Step Preparation Method:Medu Vada 3 Easy Tricks for Crispy & Fluffy Vadas
Step 1: Soaking and Draining
Thoroughly wash 1 cup of urad dal under running water. Soak it in ample water for exactly 4 hours. Do not over-soak, or the dal will absorb too much moisture. Drain the water completely using a colander; there should be no standing water left before grinding.
Step 2: Grinding the Batter
Transfer the drained dal to a mixer grinder or wet grinder. Add 1 tablespoon of ice-cold water. Grind using the pulse function. Scrape down the sides and add another tablespoon of water only if the blades stop moving. The final Medu Vada batter should be thick, smooth, and slightly grainy to the touch.
Step 3: Aeration and Flavoring
Transfer the batter to a large mixing bowl. Perform Trick 2 by whipping the batter vigorously for 5 minutes until it passes the float test. Once aerated, add the chopped green chillies, ginger, curry leaves, coriander, peppercorns, hing, rice flour, and salt. Mix gently to combine without deflating the air bubbles.
Step 4: Frying to Golden Perfection
Heat oil in a deep kadhai over medium heat. Wet your palms with water. Take a lemon-sized portion of the batter, flatten it slightly, and use your thumb to make a clean hole in the center. Carefully slide the shaped Medu Vada into the hot oil. Fry on both sides until beautifully golden brown and crispy. Drain on a paper towel and serve hot!
Medu Vada 3 Easy Tricks for Crispy & Fluffy Vadas:
3 thoughts on “Medu Vada 3 Easy Tricks for Crispy & Fluffy Vadas”